|
|
 |
||||||||||
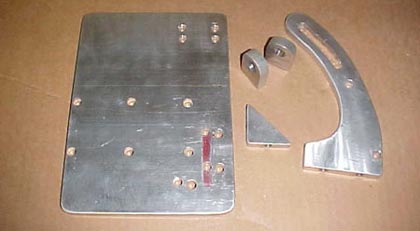
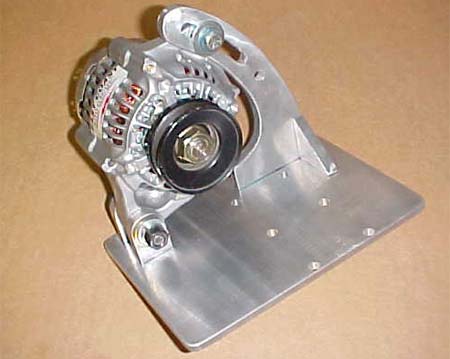
When I was satisfied the brackets were pretty close to what I needed,
I put my son's skill to work. He is a machinist and training to become
a tool and die maker so I thought "Hey, let's see what Andy can do
for good old dad." He did a great job of taking my crude old templates
and carving me out some aluminum pieces from 3/8" thick 6061 aluminum.
Rather than heli-arc the alternator bracket we decided to bolt it
together in case I need to move the pulleys around for the Vacuum
Pump. I learned a little more about machine screw threads and if you
build something like this be sure to use Loctite.
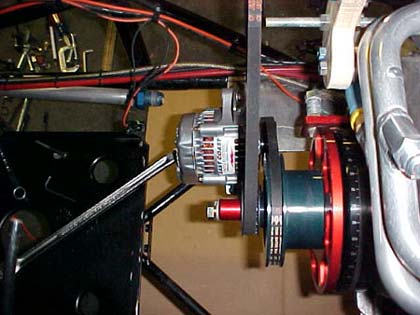
As you can see in the photos, the fuel pump bracket mounted nicely
off the bolts used to mount the Shogun cooling manifold to the block.
One thing I like about the Shogun cooling manifold is that I can reverse
the flow of the water through the block and heads and with AN fittings
there is NEVER a loose hose!
|
|
||||||||||
|
Copyright 1999-2002, Drag Racing Online and Racing Net Source |
|
||||||||||