
9/8/06
Words and photos by Bryan Volmert
Installing brakes in a '67 Chevy II
This is the first in our new series featuring real racers doing real installations and fixes in their garages. St. Louis bracket racer Bryan Volmert did the first installation. Aerospace Products out of Florida sent us the brake kit and we had Bryan do the installation on a Chevy II in his garage. The premise here is that the installation may not always be pretty, and it may not always work out the way it’s advertised to, but what you will see here is the way it really happened. – Ed.
 |
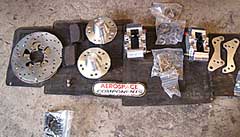 |
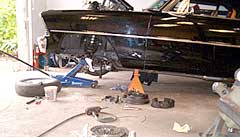
As you know, a 1967 Chevy II has drum brakes, which were suitable for the time. As this car is now exceeding 135 mph at the big end, braking got to be a concern. So, I started searching for a new braking system. After looking at all kinds of info from all kinds of companies, due to cost, weight, and appearance, I settled on Aerospace disc brakes. About a week later, a box showed up in the mail (actually UPS delivered it, but that is neither here nor there). It was like Christmas freakin’ morning! I dragged the box into the living room, tore it open, and began inventory.
 |
 |
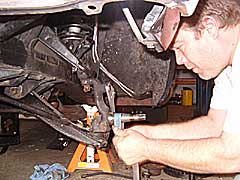
Surprisingly enough, all the bits and pieces were actually in the box. Once the inventory was completed, I went to the garage and began removing the old brakes. Disassembly was a snap. I got everything off and threw it in a pile.
 |
 |
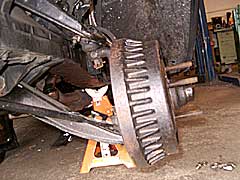
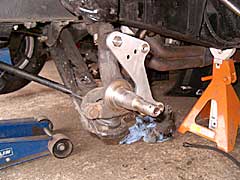
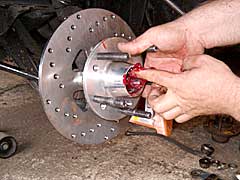
Starting assembly, I put the wheel studs in the hub and attached the rotor. Then I attached the mounting bracket to the spindle and packed all the bearings. The next step was to install the rear bearing in the hub and install the rear seal. As I went to install the hub, the bearing got stuck on the spindle! At that point, I became concerned that the bearing size was incorrect. I checked them against the old bearings (found in the pile of stuff) and they were the same. So, I took a piece of emery cloth and cleaned the spindle. After about five minutes it fit perfectly.