 |
 |
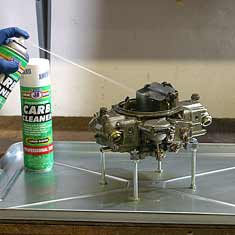
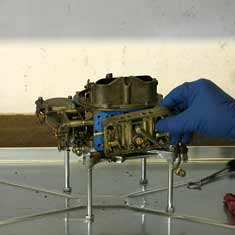
| Use some nuts and bolts
to get the carburetor up off your workbench and give it
a good hosing of carburetor cleaner to get things started.
Never rest a carburetor on the throttle plate. |
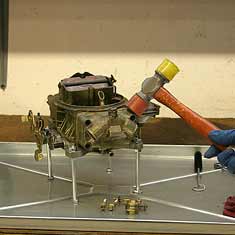
Remove rear bowl screws
and use a soft face hammer to loosen up the gasket deal
and remove the bowl. Pry off only as a last resort. |
 |
 |
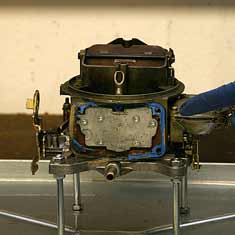
| With the fuel bowl removed
take note of the upside down number in the center of the
metering plate. This is important for matching the replacement
jets |
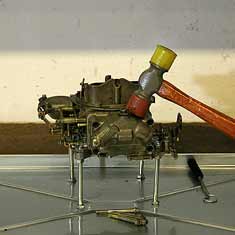
The next step is to remove
the front fuel bowl and metering plate. The hammer once
again is here to help. |
 |
 |
| Use the hammer to tap
around the metering block to loosen and remove. Pry with
a flat screwdriver only as a last resort. |
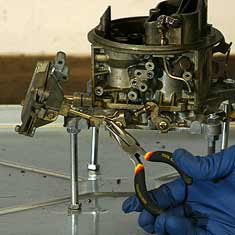
Remove the choke assembly
and vacuum housing linkages taking note of clips and fasteners.
|
 |
 |
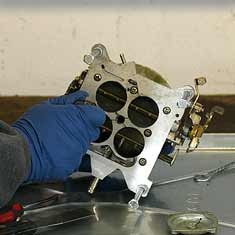
| Remove the screws holding
the throttle plate to the main body and separate the body
from throttle plate. |
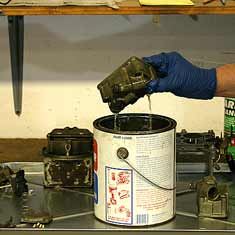
Both fuel bowls and metering
block will be reused. Soaking all parts in the good 'ole
dip helps get things clean and softens evil adhesive gaskets.
|

