 |
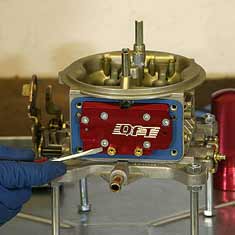 |
| Improved non-stick gaskets
stop leaks and make for super easy disassembly for future
tuning. |
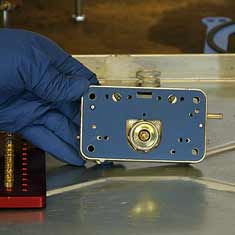
Remember that upside
down number on the old metering plate? Consult the chart
supplied by QFT and match up the right jets for the job.
Install a new gasket and metering plate. |
 |
 |
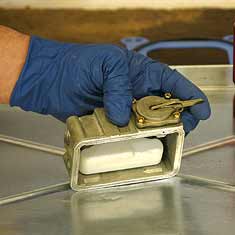
| Now is a good time to
rebuild the float bowls if required. Install a new accelerator
pump assembly, needle and seat, adjustment, and gasket.
Set correct height of float on the bench. |
Wrap the rest of it back
up. Before cinching down the front bowl make sure the
pump arm is correctly positioned. |
 |
 |
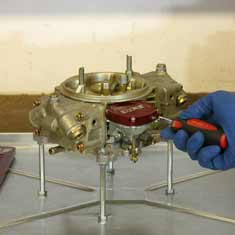
| Install the vacuum secondary
housing. The Quick Set comes pre-set in "neutral"
from the factory so no initial adjustment is required.
|
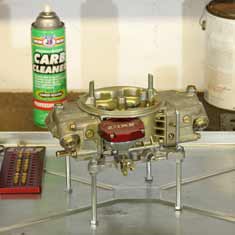
Done deal! Double-check
all fasteners. Set float level on vehicle before testing.
Now go have fun. |