|  
There are no tricks here folks. But
you do have to install the pair of clips, as they’re
supplied loose with the charger. A set of terminal rings is
supplied with the charger (installed on the positive and negative
leads).
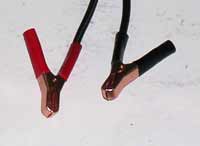
To install the traditional clips,
you simply cut off the terminal rings, strip the wire back
a bit and crimp on the clips. Obviously, one lead is positive
and the other negative. To avoid confusion, the wires from
the charger are coded – red is positive.
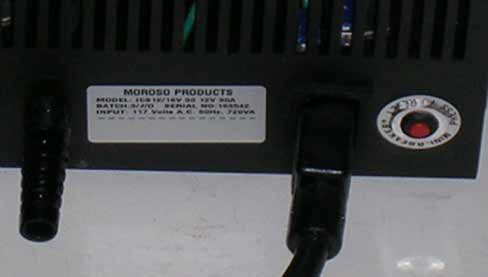
In the event of short circuit shutdown
(for example, you screwed up and reversed the polarity), there’s
a manual resettable circuit breaker on the battery charger
body. It’s located on the left side as you face the
front of the charger (same side as the DC cables). What’s
with the stubby thing just to the left of the circuit breaker?
Simple. It’s a temperature sensor, which is part and
parcel of the electronic “brain” package.

The top of the charger includes
a cool (and robust) checker-plate finish along with a convenient
carrying handle. The charger is rather portable, measuring
12X7X7-inches in length, width and height. If you’re
using it outdoors, just be sure to protect it from rain.
|